The only thing better than apple picking is apple dipping! Follow Paula’s Caramel Apple How-To, and take even the sweetest honey crisp to the next level with ooey, gooey caramel goodness. Happy fall, y’all!
How to Make Caramel Apples at Home
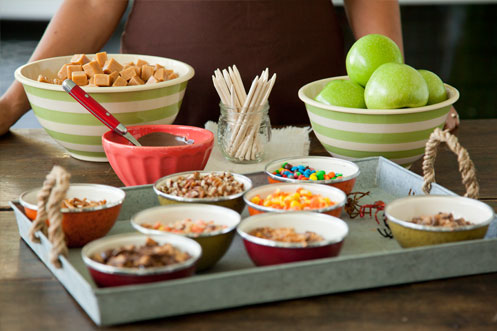
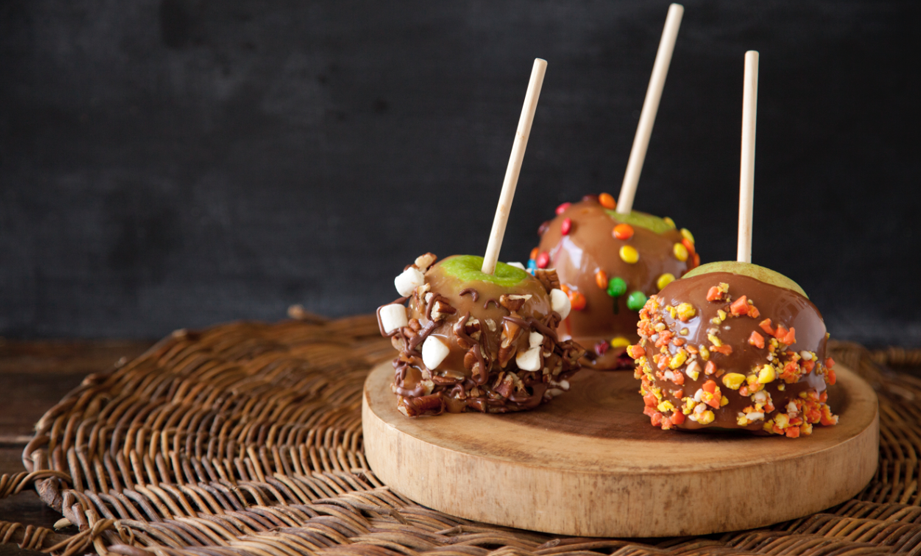
Step 1: You will need 1 bag of caramel candies, craft sticks, apples, a sheet tray lined with parchment, and a selection of candies all roughly chopped. (We used candy corns, Reese’s pieces, chopped nuts, m&ms, and marshmallows. It’s fun to get creative!)
The test kitchen found that when we used organic apples the caramel clung to the apples far better than when using conventional apples. Regardless of what apples you use, give them a good scrub (water with a splash of vinegar should do the trick) and dry them well with paper towels before dipping. We liked the tartness of the Granny Smith with the sweet flavor of the caramel, but feel free to use any apple of your choosing.
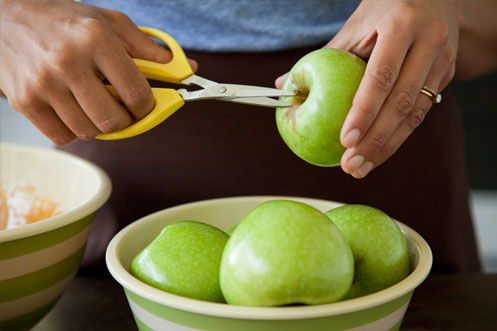
Step 2: Snip the ends of the apples with a pair of scissors.
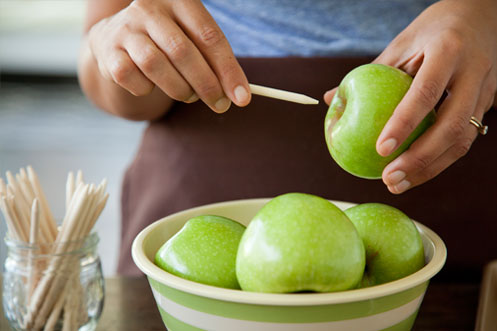
Step 3: Insert craft sticks into the tops of the apples.
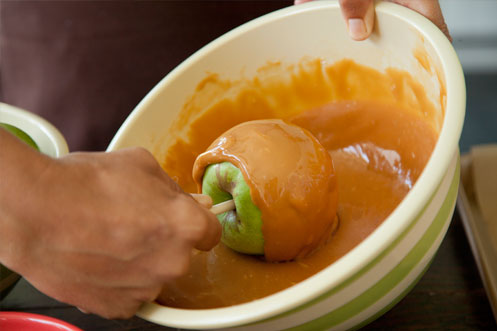
Step 4: Melt the caramel according to the recipe. Don’t overheat- we found that a cooler caramel coated the apples easier than a very hot, runny one. Place the caramel in a bowl small enough for it to come high up the sides. Dunk the apple and tip the bowl if needed to make sure it’s completely covered. We found that a nice flick of the wrist made for a nicely covered apple.
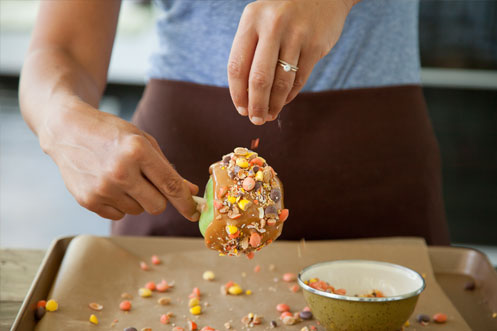
Step 5: Some recipes may tell you to dunk the apples into the candy toppings, but we found it easiest to sprinkle the apples with the toppings. That way the caramel stays on the apples rather than in the bowl of candy.

Step 6: Place the finished apples on a parchment-lined sheet tray, and put the tray into the refrigerator to set up. Enjoy!




YOU’RE NOT SIGNED IN. LOGIN OR JOIN TO POST A COMMENT.