Skip to main content Share
& Save

How to Make Teacup Candles

By
Tags: mother's day

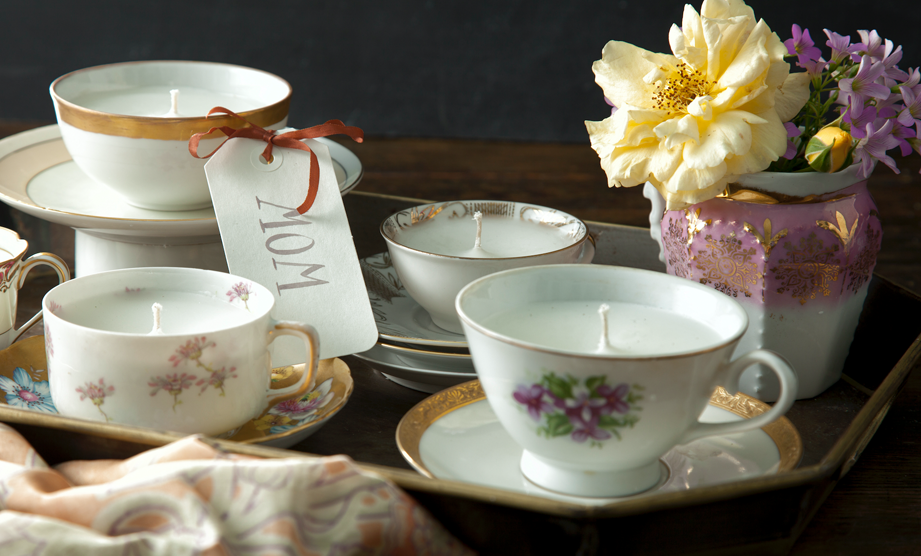
We love making homemade gifts for our friends and family, and for those who love to be pampered and enjoy pretty things, we adore sharing these beautiful teacup candles. While store-bought candles are great, we love the idea of making custom candles that not only match the recipient’s personal style (look for a teacup that suits their style), but can also be customized to match their favorite scent profiles.

While these candles look intimidating, we promise, they are quite simple to make!

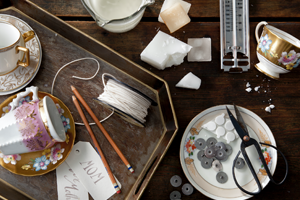
What you’ll need:

Teacups

Metal wick clips

Wick keeper stickers

Pillar wick

Candle wax

Pencil

Scissors

Two metal pans, to make a double boiler

Liquid dye, if desired

Essential oils, if desired
Step 1: Gather your ingredients. You can find most items on the list in a craft store, but for the teacups, we love scouring thrift shops. Just make sure the teacups aren’t cracked, as the wax will leak out.

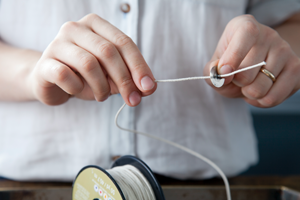
Step 2: Next, thread your wick through your wick clip. Don’t cut the wick off the spool yet.

Step 3: Trim the wick at the flat part of the wick clip so that the wick clip will lay flush against the bottom of the cup.

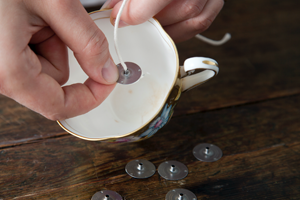
Step 4: Stick a wick keeper to the bottom of the wick clip.

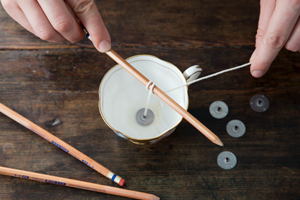
Step 5: Peel off the other sticker backing from the wick keeper, eyeball the center of the teacup’s base, and press the wick clip firmly down. This will prevent the wick and wick clip from moving around or floating to the top of the candle during the next few steps and when the candle is burning.

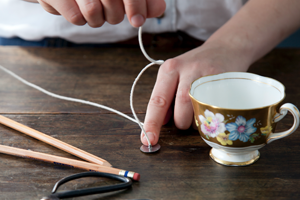
Step 6: Once the wick clip is firmly in place, wrap the wick around a pencil a couple of times, and rest the pencil atop the cup with the wick taut. This will help to keep the wick from falling over as the wax is poured and cools.

Step 7: Using a double boiler, melt the wax until it is a clear liquid. Then, add in a few drops of your desired essential oils and/or dyes should you choose. Now, you’ll slowly pour the wax into the cup, avoiding pouring it over the pencil, as it may splatter and make a mess

Step 8: Once the wax has cooled completely, remove the pencil and trim the wick to ¼-inch to ½-inch above the top of the wax.

Voilà! You’ve got yourself a candle. So tell us—are you making these as gifts or for yourself? Do you have any scent combinations you’re excited to try? Let us know in the comments below.

Happy candle-making!

Comments